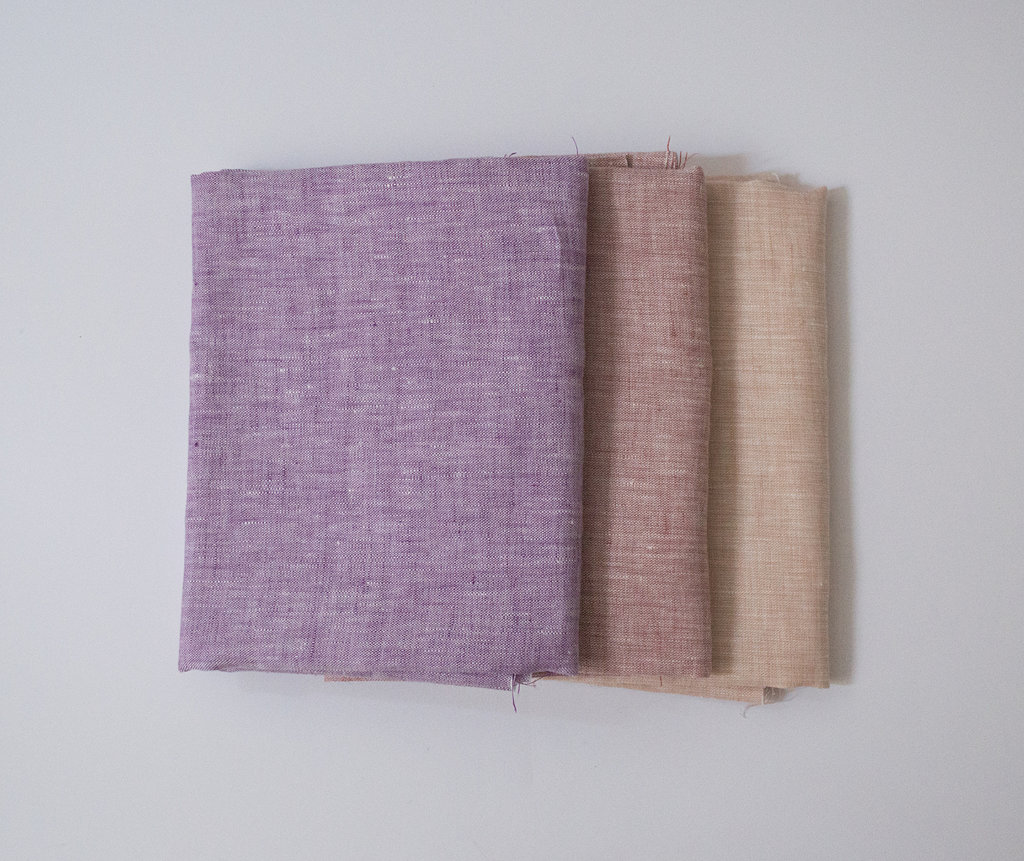
Last month, I bought some linen fabric to make pretty napkins. I wasn’t sure how I was going to finish them, so I did some research on finishing edges. I was looking for something clean and crisp, when I came across mitered corners. Mitered corners are simple to do; they don’t take much time, but that doesn’t mean that the finish product is mediocre. It actually creates a nice classic and sharp look to any fabric edge.
Start with your fabric cut at the size you want to use. I cut my linen into 18-inch squares.
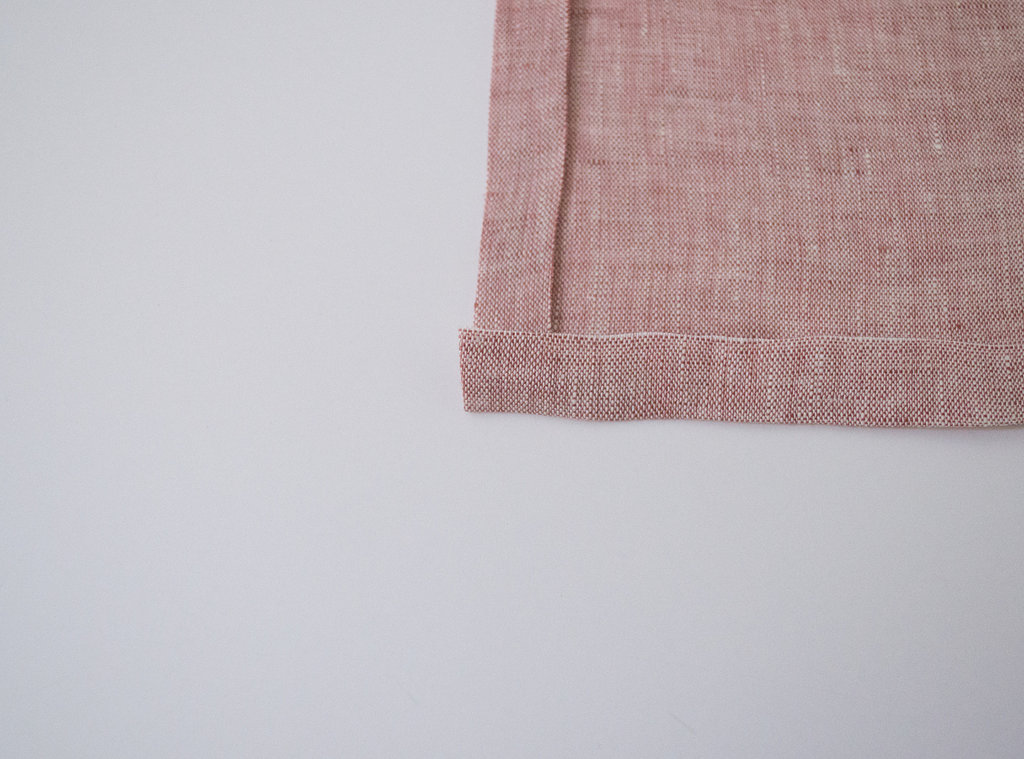
Measure ½-inch from the edge with a seam gauge or ruler, and with an iron, press the fabric on all sides.
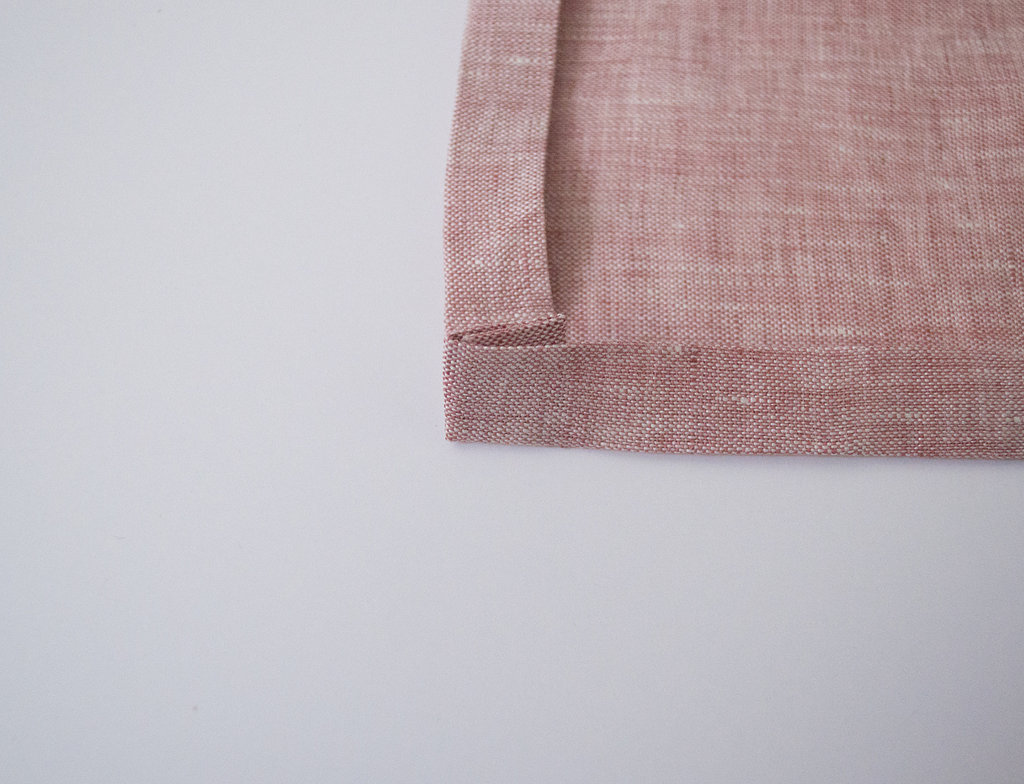
Again, going around the edge with a seam gauge or ruler, press the fabric another ½-inch from the edge, creating a double fold.
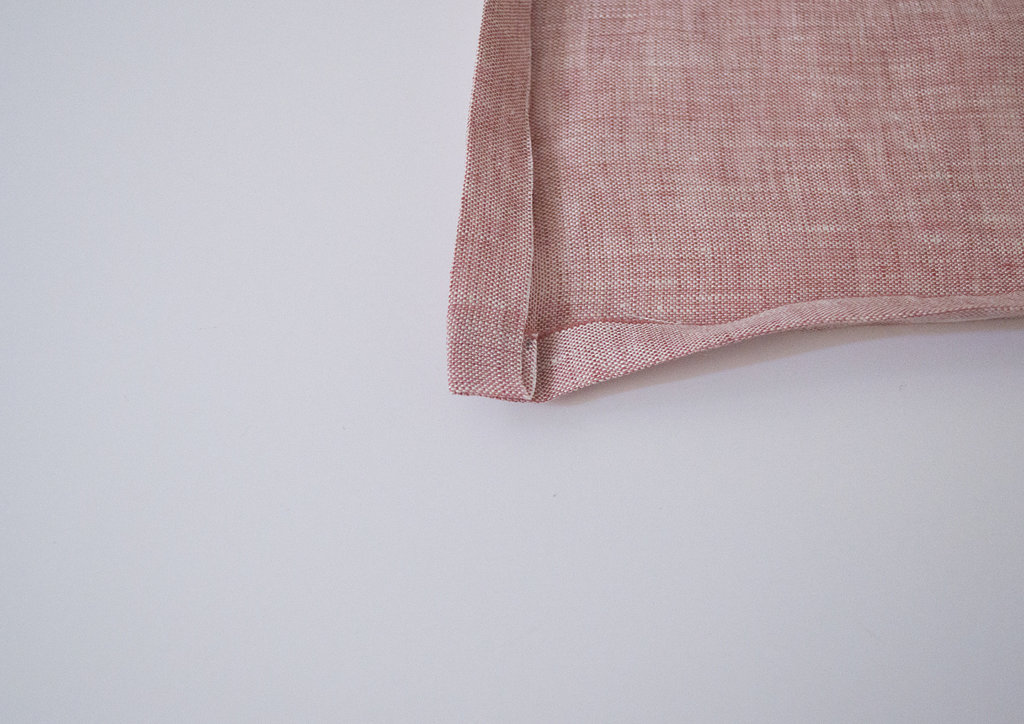
Unfold one time on all edges, maintaining a folded layer.
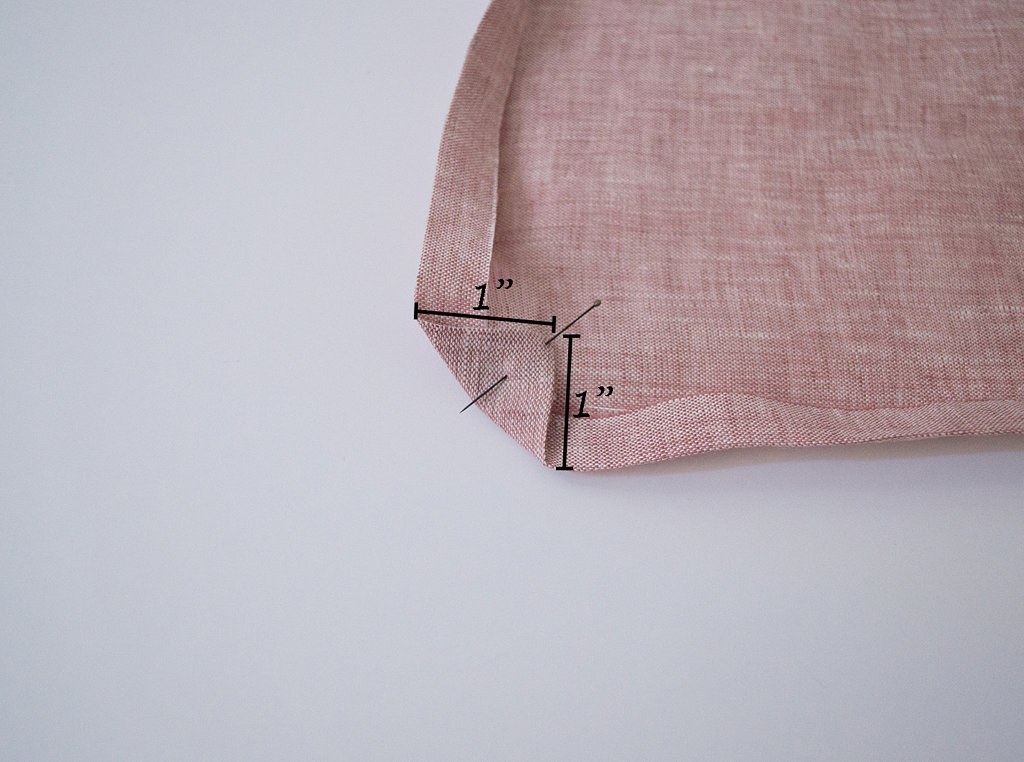
Fold a corner into the square, 1 inch from the edge. Pin it in place. Press the corner flat.
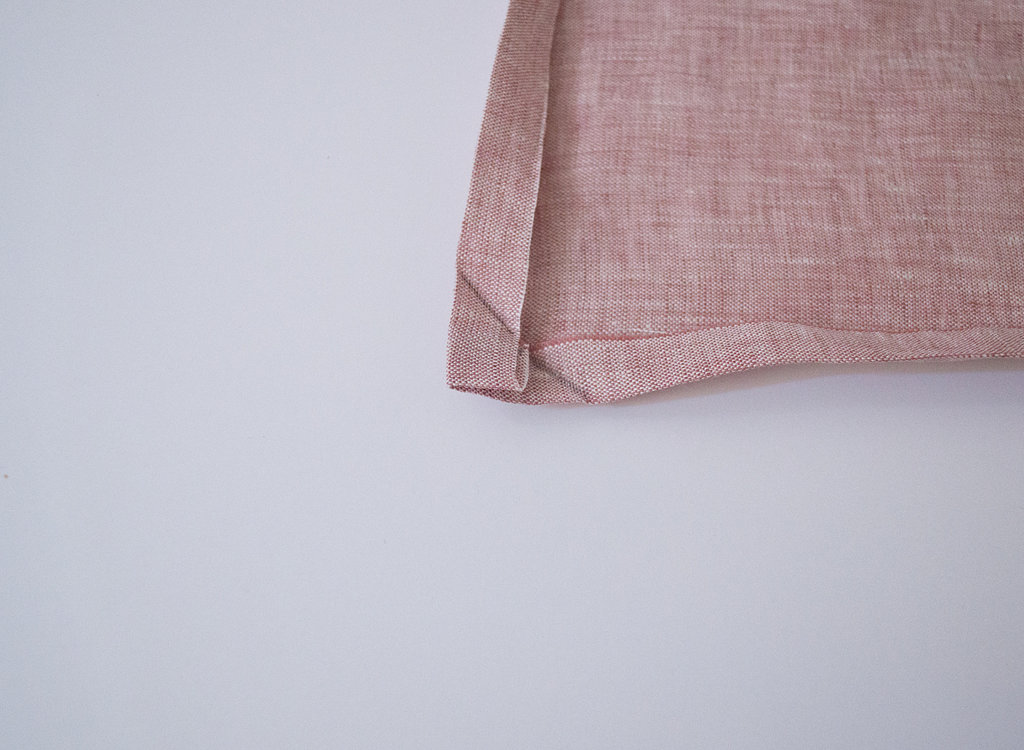
Unfold the corner and mark the diagonal line created with a marking pencil.
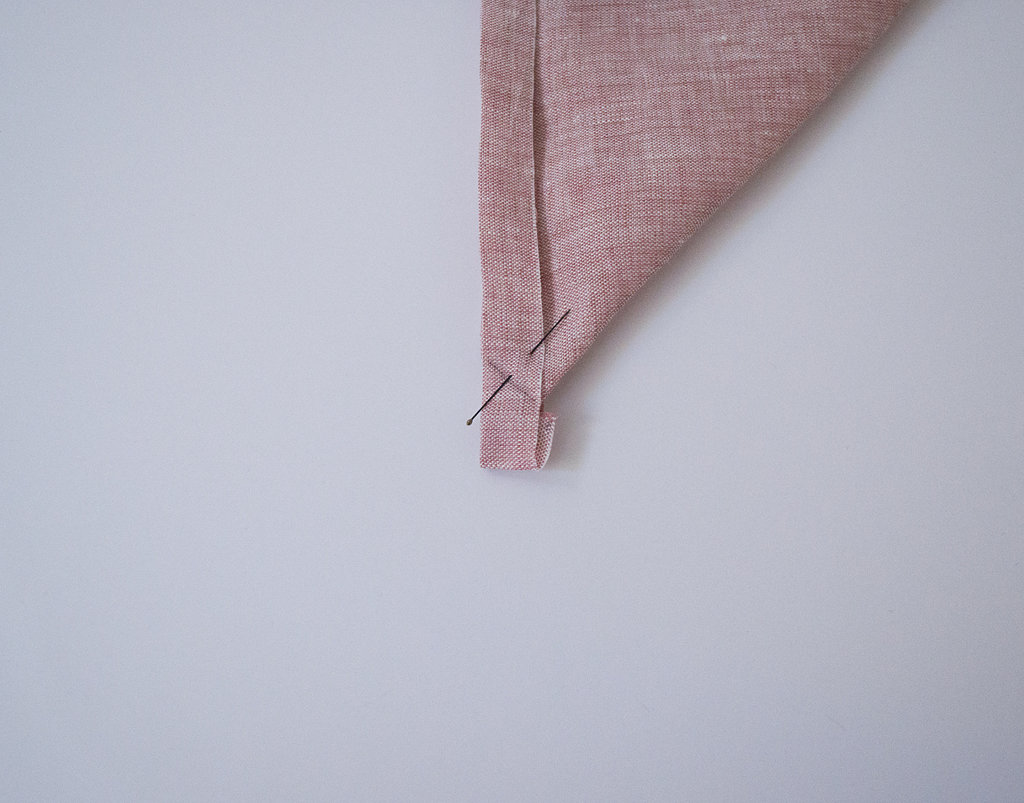
With right sides together, pin the fabric where the line overlaps, making sure the edges are squared and flushed.
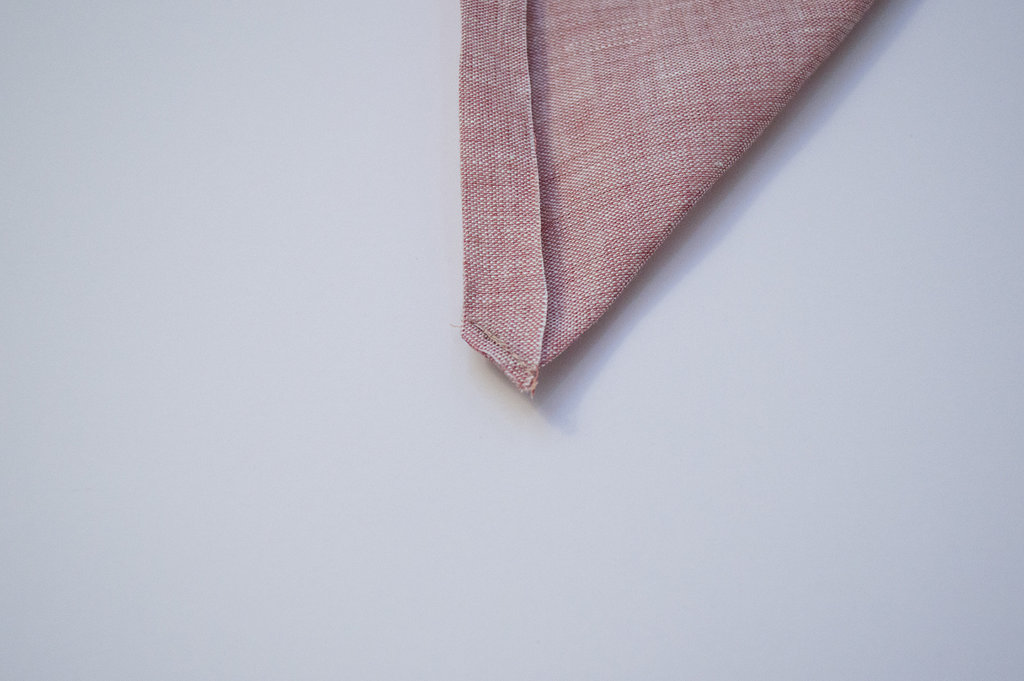
Sew right on that line, and cut the excess fabric with an ⅛-inch seam allowance. Repeat the steps on all corners.
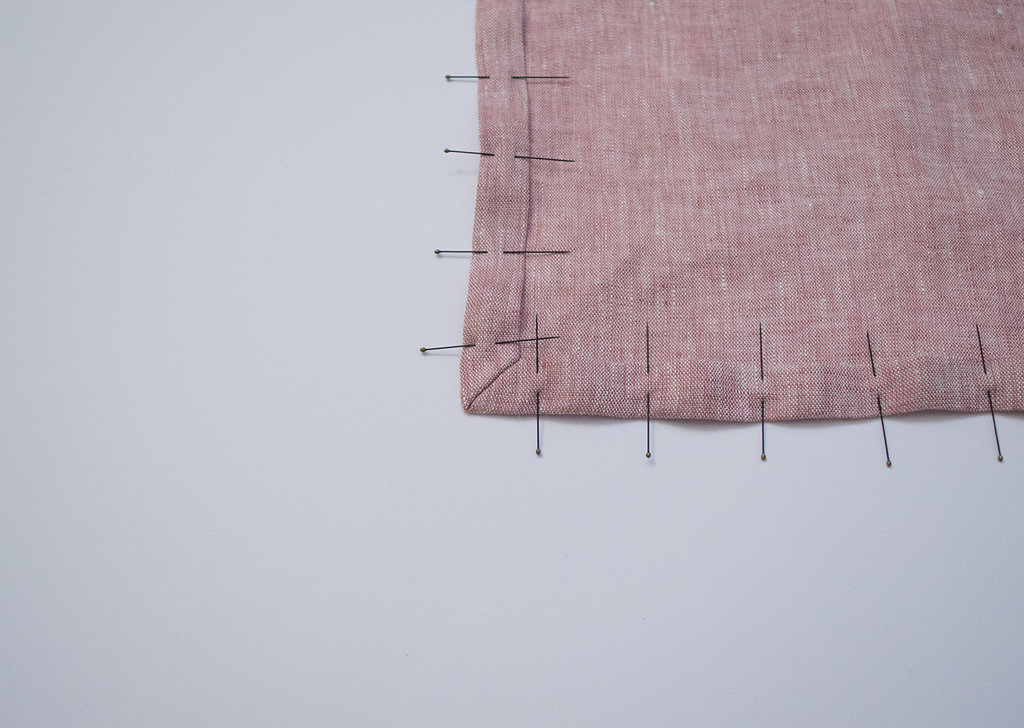
Flip the seams with raw edges in, and pin along all four sides.
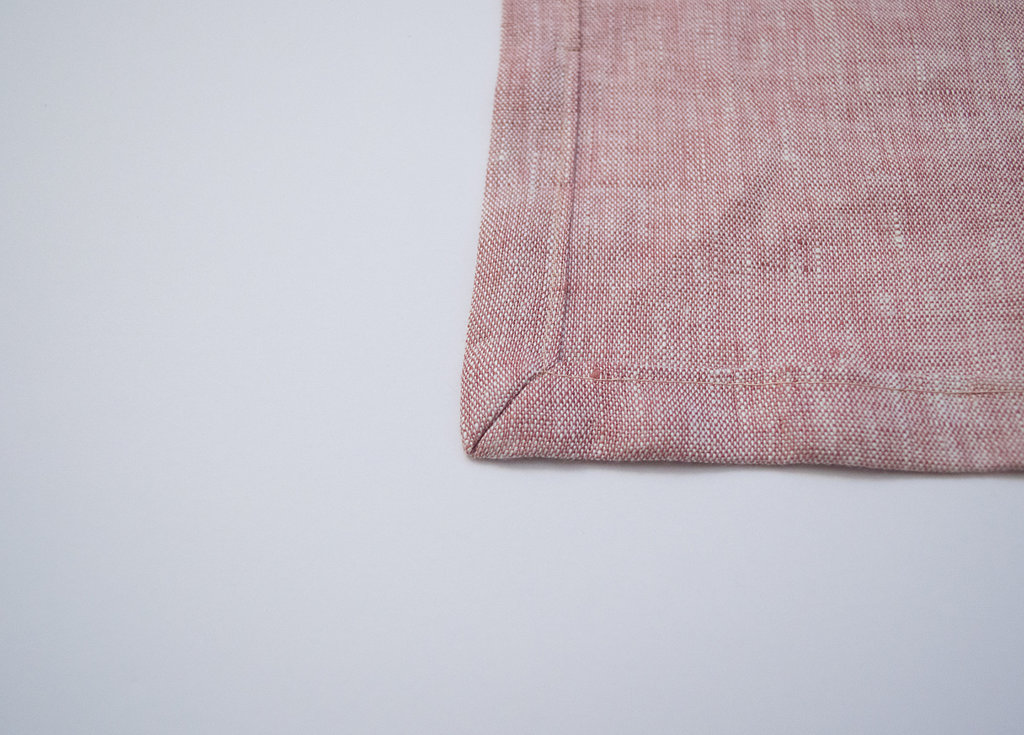
Sew an ⅛-inch in from the inside edge of the seam in one single run on the sewing machine; when you come to a corner, pivot the fabric 90 degrees with the needle still in the napkin, then re-place the foot and sew!
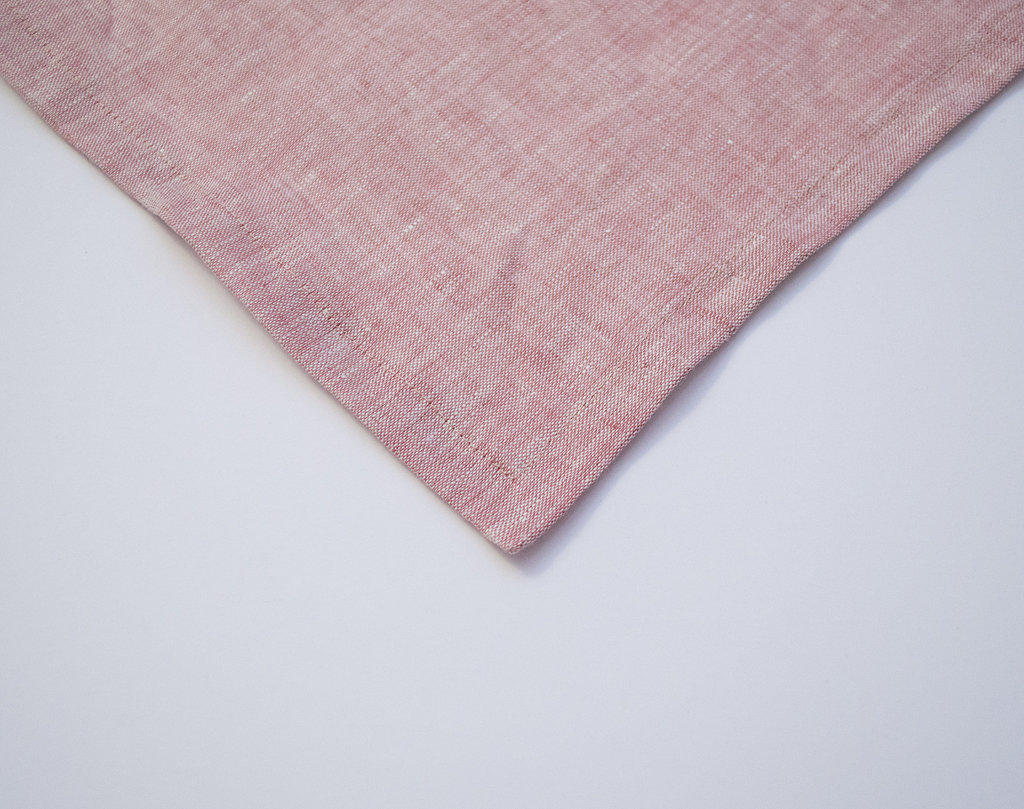
Remove all pins, steam, and press the napkin. Now you have completed one! Go make more pretty napkins in an assortment of colors!
